

You can cache a map on an iOS device in theDJI Go App by clicking into the flight view for the drone, clicking the three dots in the upper-right hand corner and selecting the option to “Cache Maps in the Background.” On an Android device, you will need to open the DJO Go app. From the main menu choose the “Offline Maps” option and download the section of map you’d like to cache.
Why Cache Maps in the DJI Go App?
There are all kinds of reasons to cache maps before you go fly your drone. I’ve recommended before that you should either turn notifications off completely or put your smart device in airplane mode before flying because you don’t want to be distracted by notifications or calls during your flight. In this case, you could always just silence all notifications and cache the map while you fly, which requires no extra prep on your part (at least if you’re using an iOS device). Remember, if you’re in airplane mode, your phone will not be able to cache the maps because it has no internet connection.
Aside from that, if you will be flying in an area that does not have wifi or cell signal, you won’t be able to see any maps when you fly, unless you’ve previously cached the map for that area. So, caching maps can be pretty important to make sure that you have the ability to see an updated version of the area that you are flying in.
Cache Maps Before You Go Fly
If you think you will need to cache your map before you arrive at the place you are flying, you will be able to do this quickly if you first make sure you have a solid wifi connection. You can also do this using your cell signal but remember that caching your maps using your cell signal will use your data and many data plans for cell phones are capped.
You used to be able to cache your maps in the Google Maps app on your phone, but sometime in 2019, DJI changed the map provider is uses in the app and you can no longer cache the maps separately. You must now do that in the DJO Go app itself.
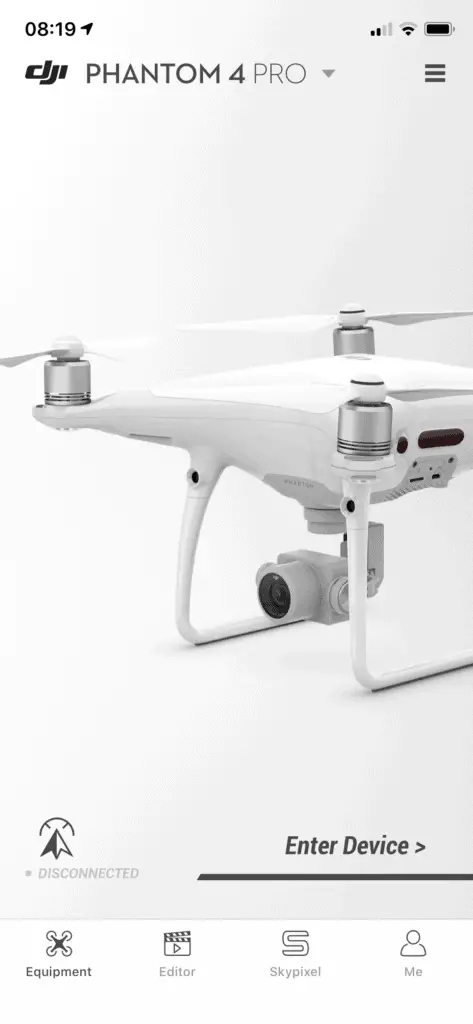
Like I said above, caching maps in the DJI Go app is actually pretty easy. On an iOS device, you will enter into the app, as pictured below. Once in the app, select the option to “Enter Device.”
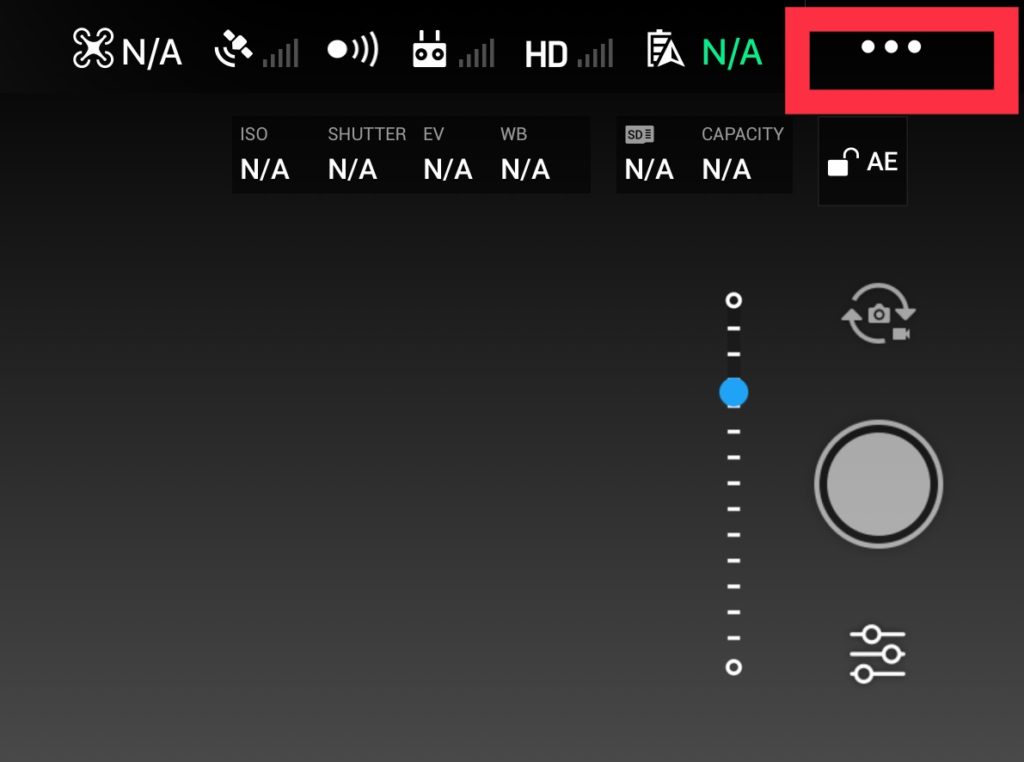
Once you are into the device, you will be in the main flight view screen. This is the screen that you typically use when flying your drone. In this screen, you will need to click the three dots in the upper right hand corner of the screen (in the red rectangle in the picture below), which will open up the main settings menu for the drone.
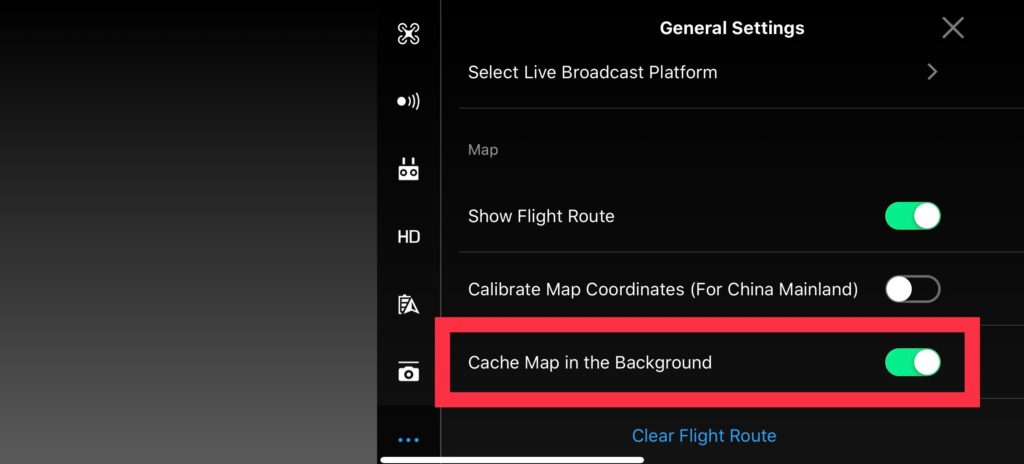
Inside the main settings screen, as pictured below, you will scroll down until you see the option to “Cache Map in the Background,” which is in the red rectangle below. Make sure this option is selected. If it is not green, then it is not selected. Don’t scroll too far down on the main settings menu or you will be in the “Video Cache” menu. This is an entirely different part of the settings map and has nothing to do with caching the maps, but will instead cache video when you take video with your drone.
Zoom In and Out to Get Complete Maps at All Levels
Once you have selected the option to cache maps, you will want to return to the main flight view screen and select the map in the bottom left hand corner of the screen. The map will expand to fit the screen. You will then want to navigate to the area that you’d like to cache and make sure to move around the map slowly, zooming in and out on the entire area. You should be able to see the map pull into focus as you zoom in and out and each time to you this, it will be caching more of the map. The closer you zoom in, the better the level of details you can get for each area. Just make sure you allow the map to fully load before zooming back out and zooming back in on another area.
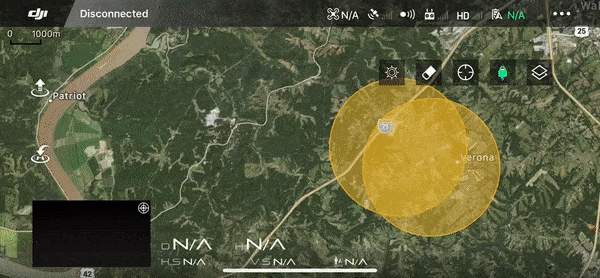
Another thing to think about here is that you will want to choose the type of map that you want to cache. I typically cache a map, which provides the satellite images along with the overlay showing the airspace restrictions, etc. This way, you can choose to show whatever map you feel most comfortable with while flying.
Do Not Close the DJI Go App
One quick word of warning here: Do not close the DJI Go app. While I’ve not had this problem personally, I’ve seen a number of stories flying around the internet of a drone pilot taking the time to cache their maps prior to a flight and then closing out of the app. Fast forward to the drone flight and there is no cached map. Just do yourself a favor and don’t force quit the app on your iOS device.
Check Maps After Caching
Finally, make sure to check the maps to make sure that you’ve successfully cached the part of the map that you will need when flying. To do this, put your device in airplane mode and expand the map section of the flight view. If you are able to zoom in and out and have maps for the entire area you will need when flying, you’re all good. If your map is missing blocks or doesn’t have the details you need, you’ll need to turn airplane mode off and return to the section of the map that is missing or needs more detail.
Once you’ve checked your maps, you are ready to fly. Using this technique, you can easily have maps ready for your next drone flight without the need for wifi or cell signal.